How To Disassemble Air Fryer For Cleaning: A Quick Guide
Keeping your air fryer clean is essential for both health and the longevity of the appliance.
Over time, food residue and grease can accumulate, leading to potential health risks and affecting cooking performance.
This guide covers the importance of regular cleaning, practical steps to disassemble and clean your air fryer, and tips for maintaining its various parts.
Additionally, a recommended cleaning schedule will help ensure your air fryer stays in top shape for delicious meals.
Why Cleaning Your Air Fryer is Important
Maintaining the cleanliness of your air fryer is crucial for ensuring food safety, prolonging the appliance’s lifespan, and optimising cooking efficiency. Over time, residue from oil and food particles can accumulate within the device, resulting in unpleasant odours and potentially impacting the flavour of your dishes.
Cleanliness is not merely a matter of aesthetics; a properly maintained air fryer plays a significant role in promoting overall health and safety during food preparation. Regular maintenance and adherence to the manufacturer’s user manual can mitigate these concerns, ensuring that your cooking appliance remains both user-friendly and efficient.
Reynolds Kitchens Brown Parchment Paper Roll, 45 Square Feet
$3.29 (as of 21:17 GMT +00:00 - More info)Potential Health Risks of Unclean Air Fryers
Unclean air fryers present considerable health risks, including the potential for bacterial growth due to food particles and the unpleasant odours stemming from accumulated oil residue. If not adequately maintained, these appliances can become breeding grounds for germs, which may lead to foodborne illnesses. Neglecting the importance of hygiene in appliance care not only jeopardises personal safety but also detracts from the overall user experience.
Regular removal of odours and adherence to a thorough cleaning routine can mitigate these risks, ensuring that every meal prepared is both safe and enjoyable.
For example, a buildup of leftover food particles can promote the growth of harmful bacteria such as Salmonella or E. coli, especially when poultry or fish is frequently cooked. To address this issue, users should develop the habit of cleaning removable components after each use and performing a deep clean on a weekly basis to prevent any crumbs from becoming a health hazard.
Employing a vinegar-water solution can effectively eradicate stubborn odours, ensuring that the appliance not only operates efficiently but also contributes to a pleasant cooking environment. By prioritising these straightforward yet essential hygiene practices, individuals can significantly reduce the likelihood of health concerns while enhancing their overall cooking experience.
Steps to Disassemble Your Air Fryer
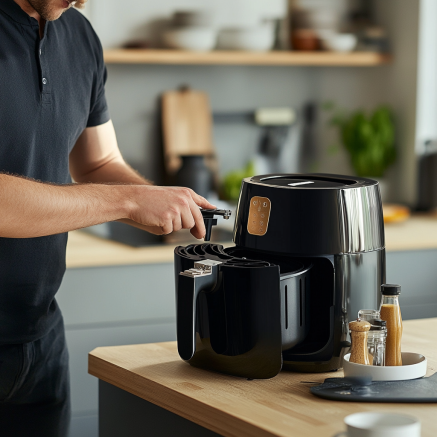
Disassembling an air fryer is an essential step in ensuring a comprehensive cleaning process, as it enables effective access to its removable components. It is advisable to follow the user guide meticulously to prevent any damage to the parts during disassembly.
This systematic approach not only facilitates thorough cleaning but also improves the efficiency and longevity of the appliance.
Additionally, possessing a clear understanding of the air fryer’s assembly is crucial for safe reassembly, ensuring that all components fit correctly and operate as intended.
Preparation and Tools Needed
Before initiating the disassembly process of your air fryer, it is essential to gather all necessary tools and cleaning solutions to ensure a seamless operation. Common tools required for this task may include a scrubbing brush, detergent, warm water, and, for persistent residue, a degreaser.
Ahead of commencing, it is imperative to take necessary safety precautions, such as unplugging the appliance and ensuring that it has cooled down completely to prevent burns or electrical hazards. Being adequately prepared establishes the foundation for an effective cleaning process.
Along with these fundamental items, it is advisable to have microfibre cloths available for drying and polishing surfaces, as well as a pair of safety goggles to protect your eyes from any splashes. A soft sponge can efficiently remove grime without scratching delicate components, while a set of screwdrivers may be required to access internal elements.
Labeling small parts during disassembly can help maintain order and enhance efficiency during reassembly. It is also important to ensure proper ventilation when using strong cleaning agents and to keep all tools organized for a streamlined cleaning experience, making the entire process not only safer but also more efficient.
Removing and Cleaning Parts
Once the air fryer has been successfully disassembled, the next step is to remove and clean the various detachable components to ensure a comprehensive cleaning process. Begin by soaking the basket and pan in warm, soapy water to facilitate the loosening of grease and food particles. After soaking, use a scrubbing brush to gently clean the surfaces, paying particular attention to any accumulated buildup. Rinse each part thoroughly under warm water and carefully inspect for any remaining residue, ensuring that every component is hygienic and prepared for reassembly.
It is crucial to consider the materials of each component throughout the cleaning process. For plastic parts, it is advisable to avoid abrasive cleaners that may scratch the surface; instead, opt for soft sponges or cloths. Metal components, such as the fryer basket, may require a more vigorous scrubbing but should still be handled with care to prevent dents and scratches.
After cleaning, ensure that all pieces are completely dry to prevent moisture from affecting future cooking. Regular inspections during the cleaning process can help identify any wear or damage, thereby ensuring optimal performance and prolonging the lifespan of the air fryer.
Tips for Cleaning Specific Parts
Cleaning specific components of an air fryer necessitates tailored approaches to ensure that each part is properly maintained and operates efficiently.
For example, the basket and tray should be cleaned with gentle scrubbing techniques to protect their non-stick surfaces while effectively removing grease and food residues. Concurrently, the heating element and fan should be inspected for any buildup, using a damp cloth for cleaning to prevent potential damage.
Employing specific cleaning strategies for each component not only enhances the appliance’s performance but also extends its overall lifespan.
How to Clean the Basket and Pan
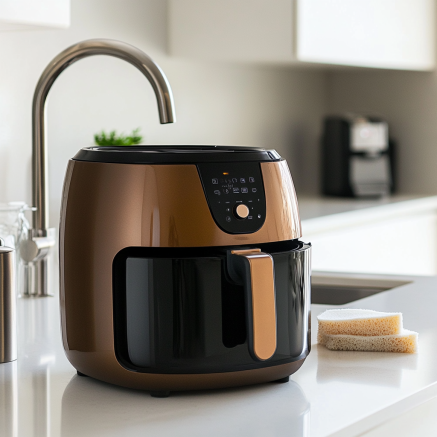
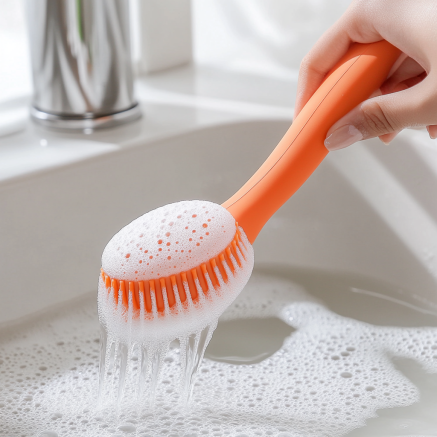
To effectively clean the basket and pan of your air fryer, it is recommended to begin by soaking these components in warm, soapy water for approximately 15 to 30 minutes. This will help to loosen any grease and food residue. After soaking, use a scrub brush with soft bristles to gently clean the surfaces, ensuring that the non-stick coating is not damaged. Rinse the components thoroughly with warm water and allow them to dry completely before reassembling. This procedure not only guarantees cleanliness but also preserves the functionality of these essential parts.
Amazon Basics Digital Kitchen Scale with LCD Display, Batteries Included, Weighs up to 11 pounds, Black and Stainless Steel
$10.89 (as of 21:17 GMT +00:00 - More info)Farberware 5211438 Professional Heat Resistant Nylon Meat and Potato Masher, Safe for Non-Stick Cookware, 10-Inch, Black
$6.95 (as of 21:17 GMT +00:00 - More info)While ensuring that the basket and pan are fully submerged in the soapy water, you may gently agitate the water to help dislodge stubborn bits of food. When scrubbing, focus on areas with heavy build-up, allowing the bristles to effectively clean without scratching the surface. It is crucial to use a non-abrasive tool, as harsh materials can compromise the non-stick surface, potentially leading to sticking issues in future uses.
Always inspect both components for any remaining residue after rinsing. If necessary, repeat the soaking and scrubbing process to ensure a spotless finish. Proper care will significantly extend the longevity of your air fryer.
Cleaning the Heating Element and Fan
Cleaning the heating element and fan of an air fryer necessitates careful inspection and appropriate cleaning techniques to prevent damage and ensure optimal performance. The process begins by unplugging the appliance and allowing it to cool completely.
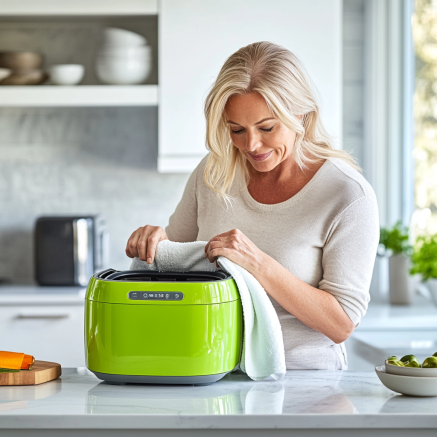
Once cooled, it is important to conduct a visual inspection of the heating element and fan for any visible residue or debris that may have accumulated over time. A damp cloth, ensuring it is not excessively wet, should be used to gently wipe these areas, while exercising caution to avoid direct contact with any electrical components.
It is essential to recognise that regular cleaning not only maintains the efficiency of the air fryer but also significantly mitigates the risk of electrical issues or malfunctions. By incorporating this straightforward routine, users can enjoy consistently excellent meals while extending the lifespan of the appliance.
Reassembling Your Air Fryer
Reassembling your air fryer after a thorough cleaning is as critical as the disassembly process, ensuring that all components work together seamlessly for optimal performance.
Begin by consulting your user manual for specific assembly instructions, paying careful attention to the placement of each removable component. A methodical approach to reassembly not only guarantees functionality but also enhances the overall durability of the appliance, enabling you to enjoy its benefits for years to come.
Putting the Parts Back Together
When reassembling the components, it is imperative to ensure that each part is correctly aligned and securely fastened, in accordance with the assembly process outlined in the user manual. Begin with the inner compartment and progressively work outward, meticulously inspecting each component for cleanliness and proper fit. This thorough approach not only ensures a successful assembly but also reinforces the cleaning efforts that have been undertaken, thereby maximising the air fryer’s efficiency and lifespan.
As the assembly progresses, it is advisable to take the time to double-check that there are no foreign particles or residues that could potentially compromise performance. Misalignment can lead to inefficiencies and pose safety hazards, making it essential to align all pieces precisely as instructed. By adhering to this guideline, users not only enhance the air fryer’s functionality but also prioritise safety.
This careful attention to detail during the reassembly process significantly enhances the overall experience, ensuring that every cooking function meets expectations and operates seamlessly.
Maintenance and Cleaning Schedule
Establishing a regular maintenance and cleaning schedule for an air fryer is essential to ensure its longevity and optimal performance. By adhering to a consistent cleaning frequency, users can prevent the accumulation of grease and food particles, which may result in operational issues and undesirable odours.
Implementing preventative care measures not only maintains the appliance in good working condition but also enhances the overall cooking experience, thereby making meal preparation both efficient and enjoyable.
THERMOS FUNTAINER Water Bottle with Straw - 12 Ounce - Kids Stainless Steel Vacuum Insulated Water Bottle with Lid, Teal
$11.89 (as of 21:17 GMT +00:00 - More info)How Often to Clean Your Air Fryer
The recommended cleaning frequency for an air fryer may vary depending on usage; however, a general guideline is to conduct a thorough cleaning after every few uses, particularly when cooking greasy foods. Consulting the user manual provides valuable insights specific to the air fryer model, ensuring adherence to best practices for maintenance. Following this schedule not only upholds hygiene but also enhances the appliance’s functionality and cooking efficiency.
For individuals who use their air fryer daily or prepare particularly messy meals, more frequent cleaning may be necessary—potentially after every use. Conversely, those who occasionally prepare snacks may find that a weekly cleaning routine is sufficient.
To determine the optimal cleaning schedule, one should consider the types of food being prepared, as items such as cheese or breading can lead to increased residue build-up. Monitoring the condition of the cooker and the manner in which food is stored can guide necessary adjustments, helping to achieve a balance between convenience and cleanliness.
